

You can add a custom sidebar of the nameservers in Cpanel like the Screenshot below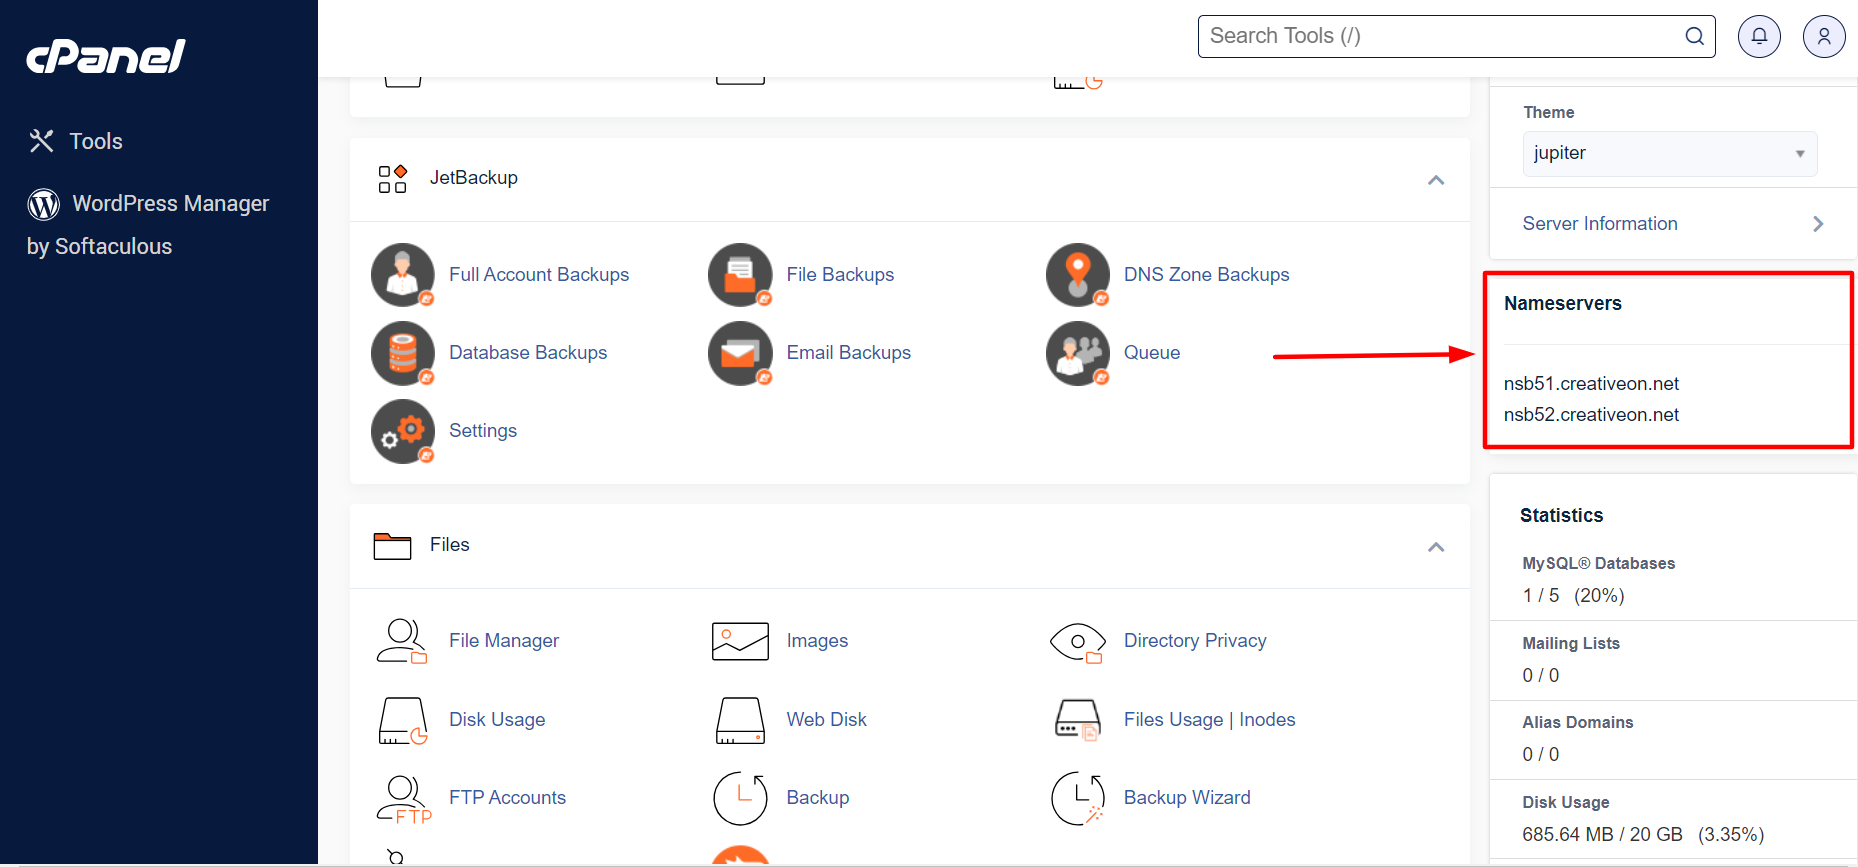
Certainly! Here’s a detailed step-by-step guide with added information for creating an HTML template file:
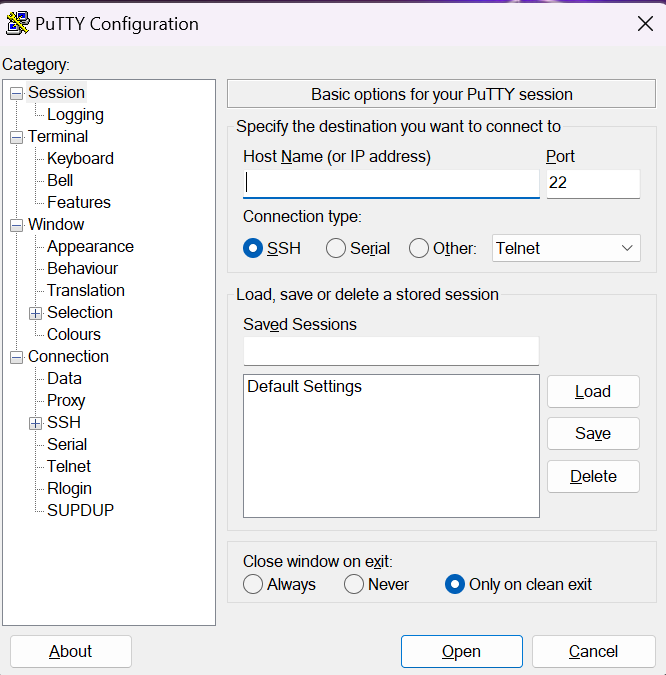
Login with your Credential:
- Open your preferred terminal emulator (e.g., Terminal on macOS, Command Prompt on Windows).
- Type the command
ssh username@your.server.ip.address
and press Enter. - Replace
usernameWith your actual username andyour.server.ip.address
with the IP address or domain name of your server. Press Enter.
When prompted, enter your password.
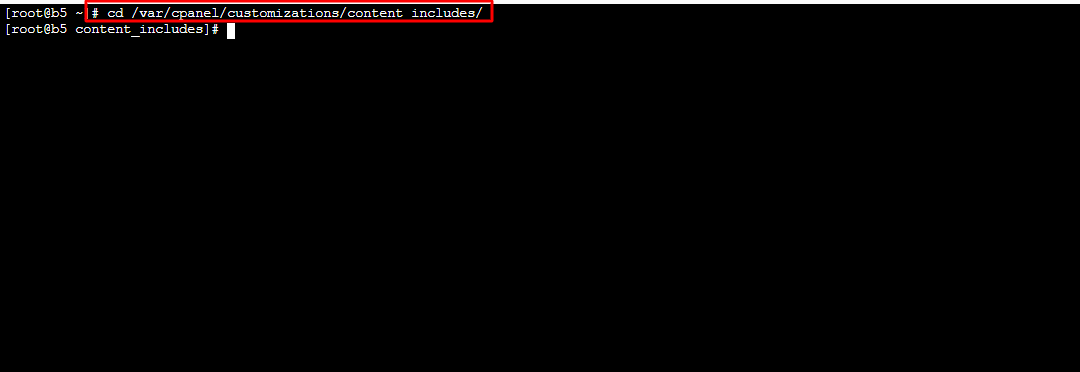
Navigate to the Customizations path:
- Use the
cdcommand to change the directory to the customizations path:cd /var/cpanel/customizations/content_includes/ - This command navigates you to the specified directory.
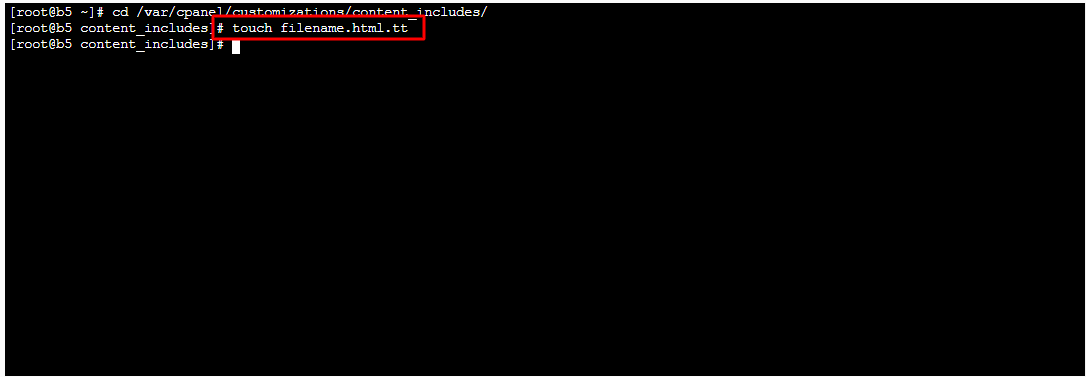
Create a New HTML File:
- Create a new HTML file with your desired name and
.html.ttextension using thetouchcommand:touch filename.html.tt - Replace
filename.html.ttwith the name you want for your file.
Edit the file with Nano:
- Open the file with the Nano text editor:
nano filename.html.tt - This will open the Nano editor, allowing you to write and edit the HTML content.
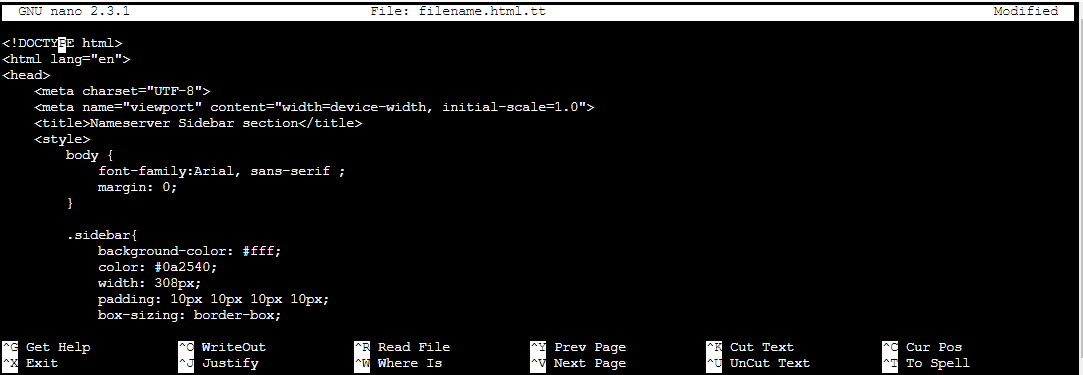
Use our custom HTML script:
- Paste our custom HTML and write it directly into the Nano editor and edit the nameserver.
<!DOCTYPE html>
<html lang="en">
<head>
<meta charset="UTF-8">
<meta name="viewport" content="width=device-width, initial-scale=1.0">
<title>Nameserver Sidebar section</title>
<style>
body {
font-family:Arial, sans-serif ;
margin: 0;
}

.sidebar{
background-color: #fff;
color: #0a2540;
width: 308px;
padding: 10px 10px 10px 10px;
box-sizing: border-box;
box-shadow: 0 0 10px rgba(0,0,0,0.1);
margin-bottom: 15px ;
border-radius: 1px;
}

.sidebar-header{
text-align: left;
margin-bottom: 20px;
}

.sidebar-section h4 {
display: none;
}

.nameserver-list{
list-style-type: none;
padding: 0;
}

.nameserver-list li{
margin: 5px 0;
}
.h4 {
font-size: 13.5px;
}
</style>
</head>
<body>
<div class="sidebar">
<div class="sidebar-header">
<h4><b>Nameservers</b></h4>
<hr>
</div>
<div class="sidebar-section">
<ul class="nameserver-list">
<li>ns1.creativeon.net</li>
<li>ns2.creativeon.net</li>
</ul>
</div>
</div>
</body>
</html>
Save and Exit Nano:
- To save the file in Nano, press
Ctrl + X
(this prompts you to confirm that you want to exit). - If you’ve made any changes, it will ask if you want to save them. Press
Y
for Yes. - It will then ask for the filename. Press Enter.
You have now successfully created and edited an HTML template in the specified directory. This file is in
.html.tt
format, indicating it’s an HTML template file. If you need to make further changes, you can open and edit it using the Nano editor again.