We have previously discuss how to install CWP on your VPS/Server.Today we are going to perform some basic security steps to secure your server,Follow these simple steps to do so.
CHANGE DEFAULT SSH PORT
This is very necessary to change your default ssh port:
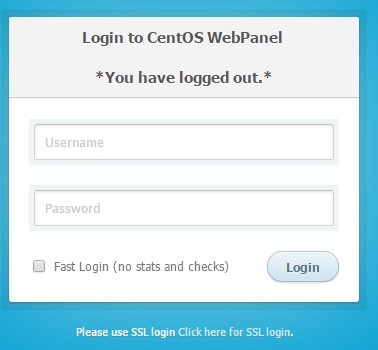
Login to CWP Admin page as root via: http://server-ip-address/cwp
Now go to Services Config and select SSH Configuration:
In the next page, scroll down till you see two blue buttons. Now click the Create File Backup button.
Once the back up done, now adjust some configurations.Find the line below:
#port 22
Remove the # sign and change port to something else like 4567
Once done save changes.
ENABLE CSF FIREWALL
Now its time to enable Config Server Firewall:
Go to Security then select CSF Firewall in the left menu
Click on the green Firewall Enable button to activate the service.
Once activated, click on the Firewall Configuration button to edit some configurations.Now add your new SSH port as we defined earlier.
Once done, Click the save changes button,You can adjust the additional settings as per your choice.
SETUP MOD SECURITY
Mod_security is an Apache module that helps to secure your website from various attacks by blocking commonly known exploits.
Go to Security then select Mod Security menu
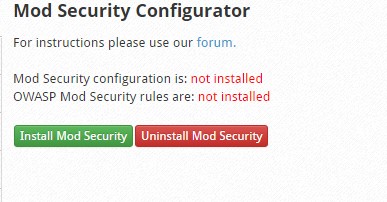
By default this module is not installed or activated so we have to firstly install it by clicking the green button:
Once clicked, now let the compiler to run in background,however you can manually edit each configuration file and adjust the settings as you want.
That’s all about CWP Security.


