
PhpMyAdmin is a free and an open source PHP platform used to administer MySQL with a web browser.It supports wide range of operations on MySQL, MariaDB.
Through this user interface frequently used operations like (run MySQL queries, optimize, repair and check tables, change collation and execute other database management commands) can be performed. In this tutorial i will guide you a quick way to install PhpMyAdmin on Linux.
Prerequisites
- These guidelines are intended for Install phpMyAdmin on Fedora, CentOS & RHEL with Apache Web Server
- SSH client like Putty and proper knowledge to use it.
- Make sure you should have installed LAMP before proceeding phpMyAdmin installation.
- Some basic knowledge about common Linux commands.
- 20 minutes of your time with a cup of tea or coffee as always.
Step 1- Check currently available phpMyAdmin package
First of all use the below command to check available phpMyAdmin package on your system.
yum list phpmyadmin
Step 2- Install and Enable Remi Repository
phpmyadmin updated package is available under Remi repository, You can install is using following commands:
CentOS/RHEL 7:
# rpm -Uvh http://rpms.famillecollet.com/enterprise/remi-release-7.rpm

CentOS/RHEL 6:
# rpm -Uvh http://rpms.famillecollet.com/enterprise/remi-release-6.rpm

CentOS/RHEL 5:
# rpm -Uvh http://rpms.famillecollet.com/enterprise/remi-release-5.rpm

Fedora 20:
# rpm -Uvh http://rpms.famillecollet.com/remi-release-20.rpm

Fedora 19:
# rpm -Uvh http://rpms.famillecollet.com/remi-release-19.rpm

Fedora 18:
# rpm -Uvh http://rpms.famillecollet.com/remi-release-18.rpm
Step 3- Install phpMyAdmin
After adding repository,Fire the below command to install phpMyAdmin using yum package manager. All the dependencies will automatically get installed.
yum --enablerepo=remi install phpMyAdmin
Step 4- Configure phpmyadmin
By default you can access phpmyadmin from your localhost but if you want to access from remote, you need to add your IP to phpMyAdmin.conf file based on your Web Server such as Apache, Nginx & Lighttpd.
which is located under /etc/httpd/conf.d/phpMyAdmin.conf.
 For Apache Web Server
# nano /etc/httpd/conf.d/phpMyAdmin.conf
Allow from YOUR-SERVER-IP
Require ip YOUR-SERVER-IP

For Nginx Web Server
# ln -s /usr/share/phpMyAdmin /usr/share/nginx/html

For Lighttpd Web Server
# ln -s /usr/share/phpmyadmin/ /var/www/lighttpd
Update all 127.0.0.1 with your network like below or enable phpMyAdmin access for everyone.
Alias /phpMyAdmin /usr/share/phpMyAdmin
Alias /phpmyadmin /usr/share/phpMyAdmin

## Comment below section to allow everyone

     Order Deny,Allow
     Deny from All
     Allow from 192.168.1.0/24
     Allow from ::1

    Order Deny,Allow
    Deny from All
    Allow from None

    Order Deny,Allow
    Deny from All
    Allow from None

    Order Deny,Allow
    Deny from All
    Allow from None
Step 5- Restart Apache & MariaDB service
After updating phpMyAdmin Apache configuration file, restart Apache service to reload new settings.
service httpd restart
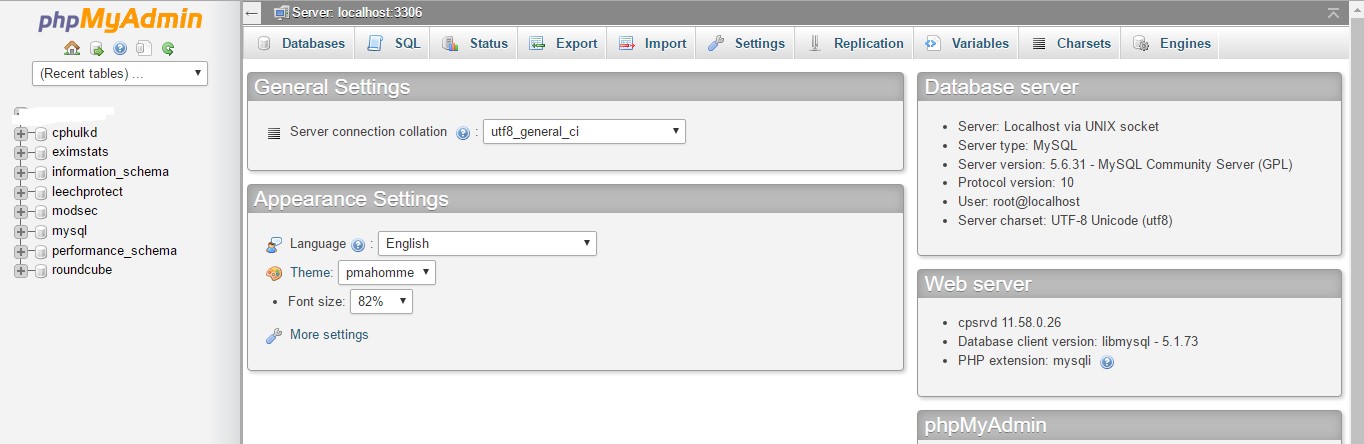
Step 6- Access phpmyadmin in web browser
Now you can access phpMyAdmin in browser using following URL:
http://localhost/phpmyadmin or http://your-server-ip-address/phpmyadmin or http://127.0.0.1/phpmyadmin and enter the login details.
So this is all you have to do, Also read about Install And Configure PhpMyAdmin On CentOS.Please Give your opinion below if you experience any issues or to discuss your ideas and experiences.