There are a few typical errors that happen in WordPress platforms and other PHP-based applications that use the php.ini for certain configurations. One of the most typical of these configurations is the maximum upload file size (“upload_max_filesize”). This is a setting generally discovered within a file known as php.ini.
Actual Error is like:
[wpfmb type=’error’ theme=2]file_name” has failed to upload due to an error – This file exceeds the maximum upload size for this site.[/wpfmb]
You will need to improve the allowed memory size in your php.ini file.In this article will explain to you on how to fix the php memory error by modifying your local php.ini file.
Fix the “Maximum upload size exceeded” Error
To fix the above error Login to your cPanel.
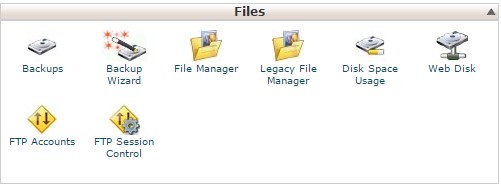
Go to files section of your cPanel and click on File Manager.

Locate the php.ini file in your public_html directory. If you do not have one, you can make an empty file by simply clicking the New File icon and labeling it php.ini so you can modify and add your own configurations.
You need to set the value of upload_max_filesize . The file_uploads should be set to “on” and ” Maximum allowed size for uploaded files” should be set to the file size that you need.
After that click the save changes button to save your settings.
This modification affects all files within the directory that a php.ini is stored, unless the file is set to be recursive. If it is set to be recursive, then it impacts all directories as per the establishing in the .htaccess file.
For more details, see How to make php.ini file recursive .
Changing the maximum upload size in php.ini

