

Here’s a step-by-step guide to setting up Backup monitoring on your server:
1. Login to your WHM
- Log in to the server where you want to establish Backup monitoring
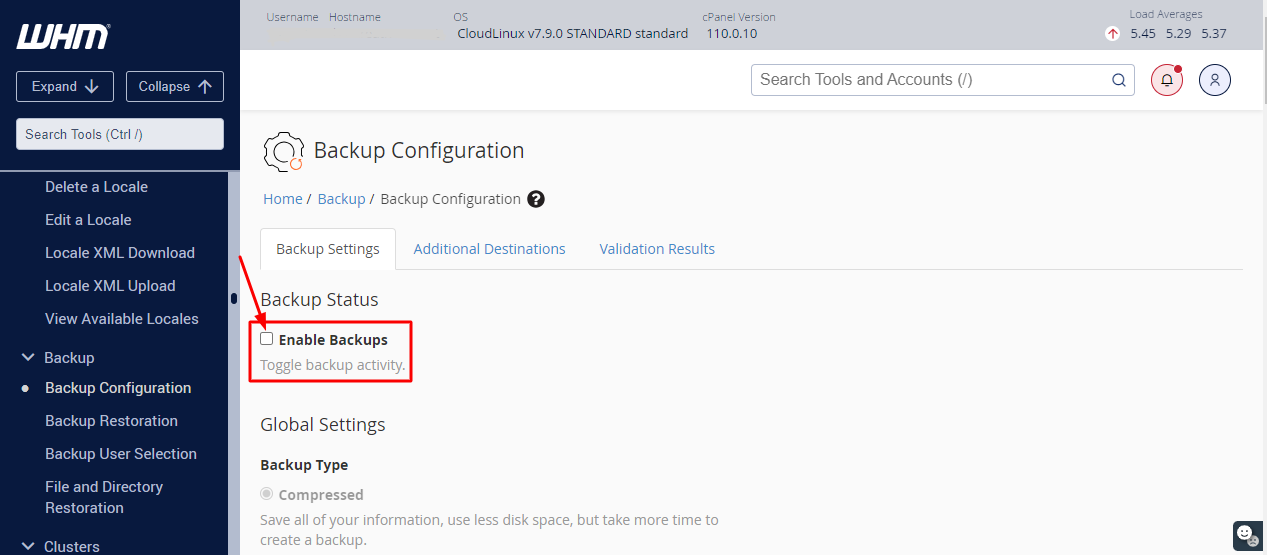
2. Backup Configuration
- Use the search bar to find the “Backup Configuration” option and activate the backup status.
3. Open SSH or TERMINAL
- Use the search bar to find the terminal.
- You can also log in to your SSH using Putty with your server credentials.
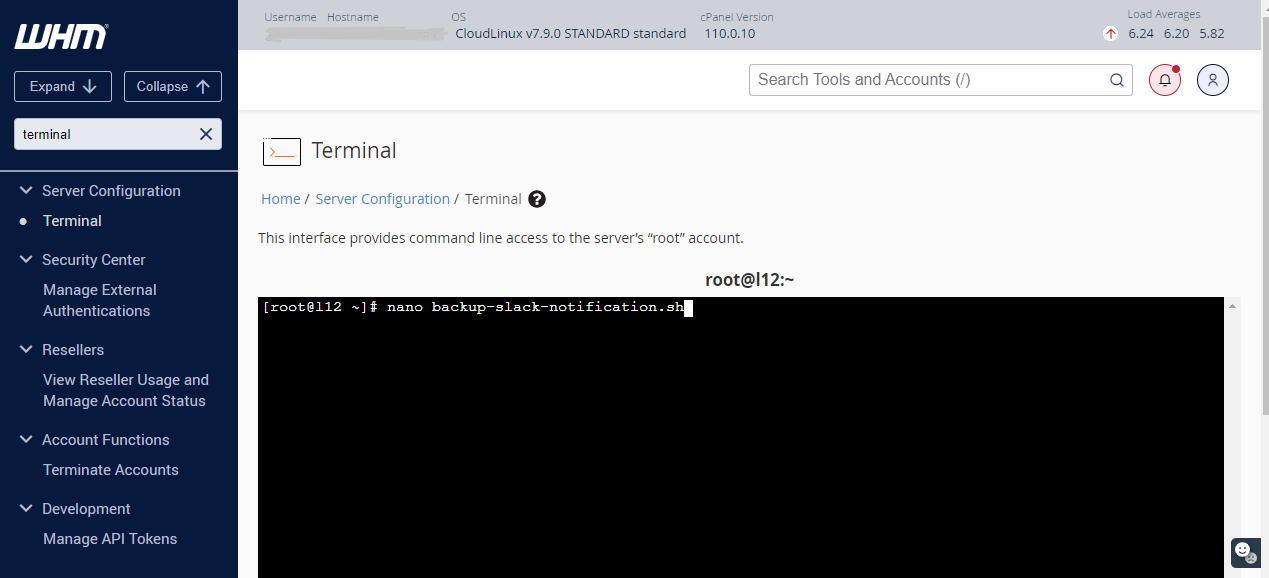
4.Script
- Paste the provided script into the file by using the below command
nano (file_name.sh)
- Save the script using ctrl x then press y and then press enter to save it

Description;
The provided Bash script is used for monitoring backup logs and sending notifications to a Slack channel based on the backup status. Here’s an overview of what the script does:
It defines the Slack webhook URL, which is used to send notifications to a specific Slack channel.
It sets the logpath variable to specify the directory where backup logs are located.
The script finds the latest backup log file within the specified directory ($logpath) based on the modification time. It selects the most recently modified log file created within the last 10 days.
If no backup log file is found, it prints a message and exits with an error code.
It reads the content of the selected log file and stores it in the logs variable.
The script checks the contents of the log file to determine the backup status. If it finds “Success notification,” it exits with an error code of 1, indicating success.
If it finds “Backup::PartialFailure,” it sets the status to “Partially Completed” and prepares a Slack message accordingly.
If none of the above conditions are met, it sets the status to “Failed” and prepares a Slack message indicating a backup failure.
It constructs a JSON message (SLACK_MSG) to send to Slack, including an icon, status, color, and other information.
Finally, it uses the curl command to send the JSON message to the specified Slack webhook URL and exits with an appropriate exit code based on the backup status.
Please ensure that you have set up your Slack webhook correctly and have the necessary permissions to access and read the backup log files in the specified directory. Also, make sure that the Slack webhook URL is up-to-date and valid for your Slack workspace.
Script
#!/bin/bash

SLACK_WEBHOOK_URL="Slack webhook URL"
logpath="/usr/local/cpanel/logs/cpbackup"

# Find the latest log file
logfile=$(find "$logpath" -maxdepth 1 -type f -name "*.log" -mtime -10 -printf "%T@ %p\n" | sort -r | head -n 1 | awk '{print $2}')

if [ -z "$logfile" ]; then
echo "No backup log file found in $logpath"
exit 1
fi

logs=$(tail "$logfile")

if [[ $logs =~ "Success notification" ]]; then
#stopping the script because the backup was sucessfull
exit 1
elif [[ $logs =~ "Backup::PartialFailure" ]]; then
STATUS="Partially Completed"
ICON=":warning:"
COLOR="#ffcc00"
MESSAGE="Partially Completed"
EXIT_CODE=3
else
STATUS="Failed"
ICON=":exclamation:"
COLOR="#ff0000"
MESSAGE="Backup Failed"
EXIT_CODE=1
fi

SLACK_MSG='{
"image_url": "https://creativeon.com/wp-content/uploads/2023/02/creativeon-favicon.png",
"text": "L16 Default Backup",
"attachments": [
{
"text": "'"$ICON"' Backup Status: _'"$STATUS"'_",
"color": "'"$COLOR"'"
}
]
}'


curl -X POST -H 'Content-type: application/json' --data "${SLACK_MSG}" "${SLACK_WEBHOOK_URL}"

exit $EXIT_CODE
5. Slack monitoring channel
- Now create the channel on Slack to monitor your backups from the below link
https://slack.com/intl/en-gb/help/articles/201402297-Create-a-channel
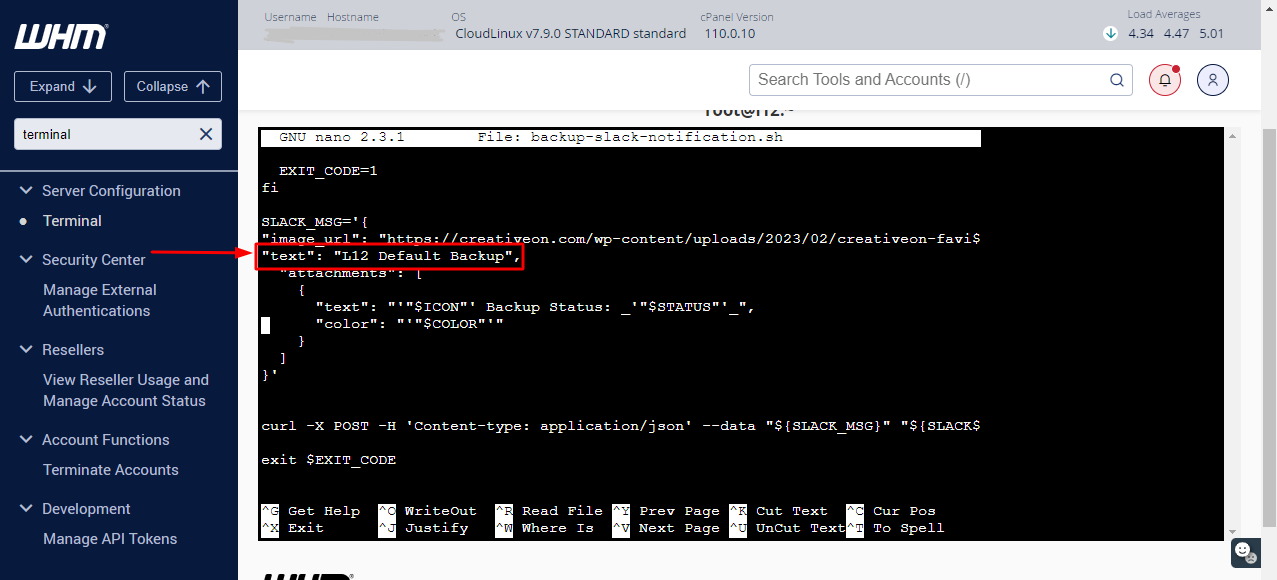
6. Set the backup name.
- You can customize your notification’s name by making changes directly within this script
7. Make the file executable
- Make the file executable using the given command.
chmod +x file_name.sh
8. Test
- Test the executable file using the provided command.
./file_name.sh
9. Make the cron job
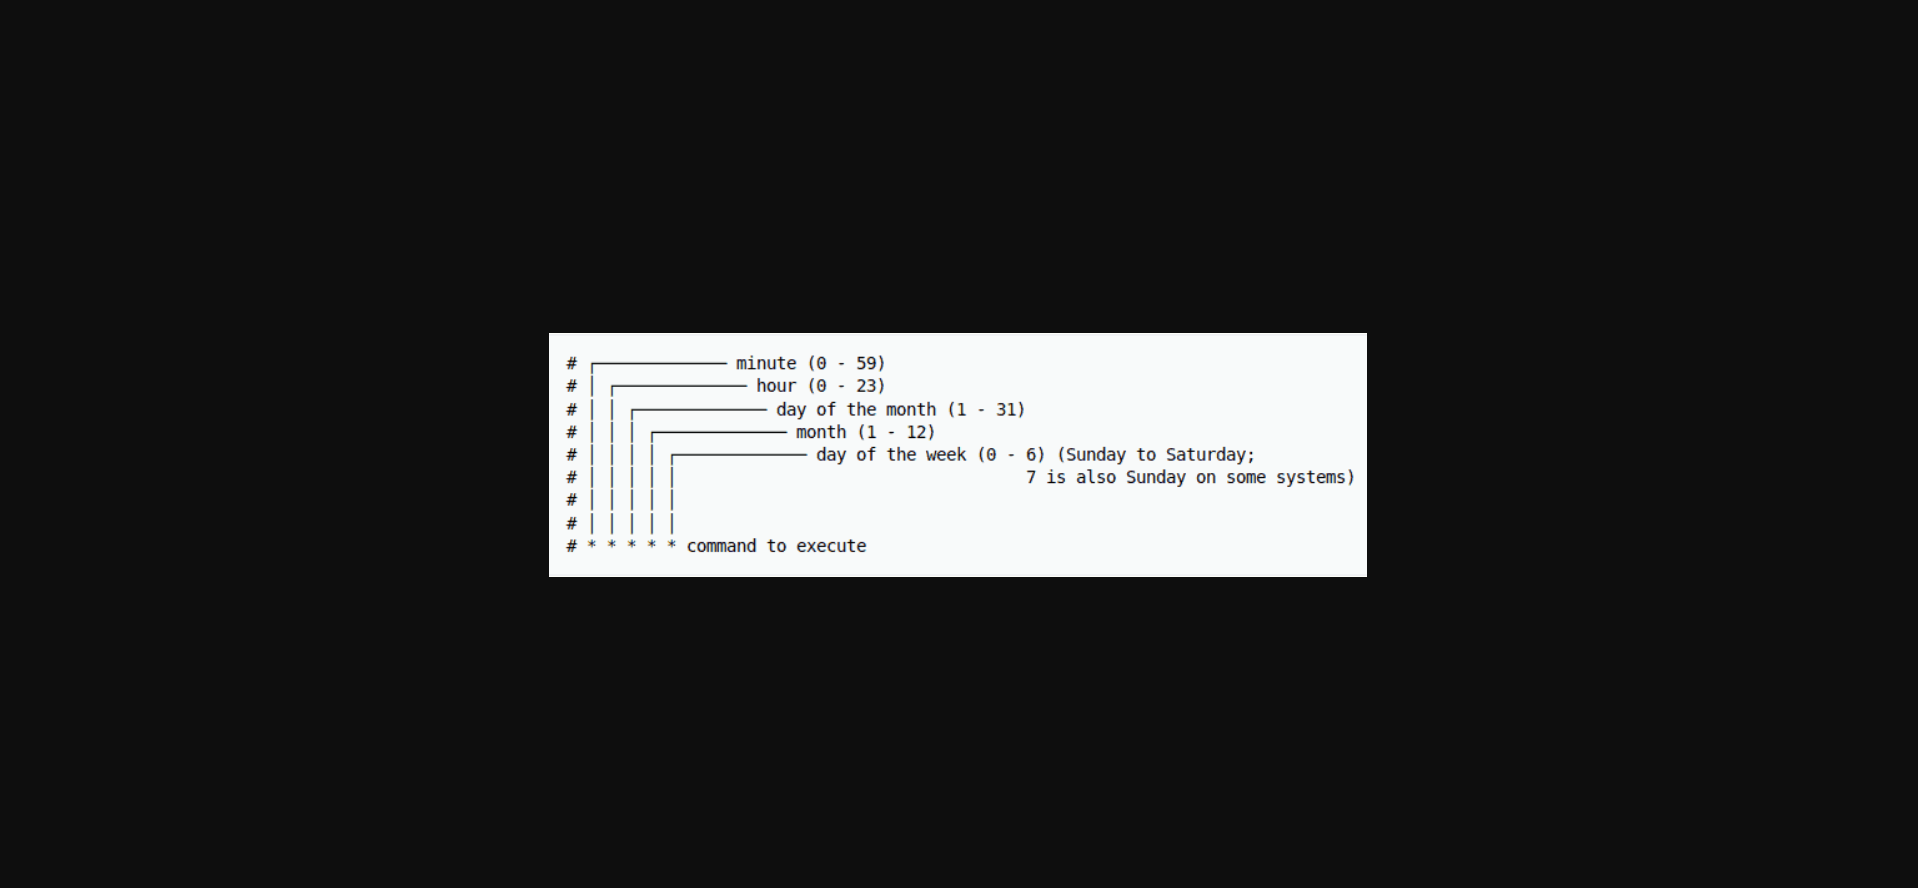
- When preparing for cron jobs, you must understand cron’s syntax and formatting to ensure the script runs properly.
10. Set the corn job
- Set the corn job for this backup using the following command.
crontab -e
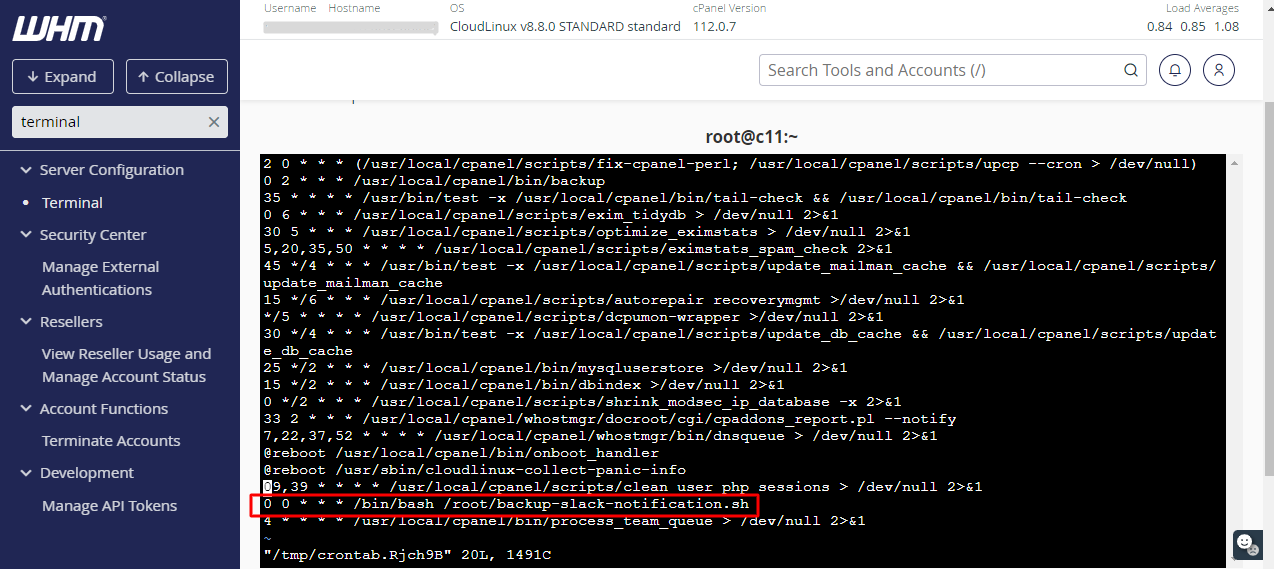
By using the below corn job the backup monitoring script will be triggered automatically after every 24 hours, you can also customise the corn job triggering time if you need.
0 0 * * * /bin/bash/root/file_name.sh
Create the corn job as shown in the above screenshot and save the corn job using the below commands
Hit i to INSERT the corn job
Then press the ESC button
Then type :wq to save the corn job