

Every web user will come across the dreaded 404 page at some point. It’s almost unavoidable. But just because it’s prevalent doesn’t mean it’s something brands should take lightly.
It can be aggravating for your users to land on a 404 page. It increases the likelihood of your visitors leaving your website, and high bounce rates might affect your SEO (search engine optimization). Furthermore, having too many links that lead to 404 pages gives the impression that you don’t take your business website seriously and are untrustworthy.
In short 404 pages, matter.
When it comes to 404 pages, the most important thing you can do to improve your visitors’ experience is to make it less likely that they would end up on one in the first place.
However, it would help if you realized that you wouldn’t be able to prevent all of your visitors from encountering a 404 page on your website. Therefore, your secondary goal should be to ensure that the 404 page is well-designed and informative when they do.
Step 1: Determining Your Current Broken Links
There are a variety of tools available to help website owners quickly and simply detect all of the broken links on their site that are causing 404 errors. Even better, many of them are completely free. Here are a couple of your best choices:
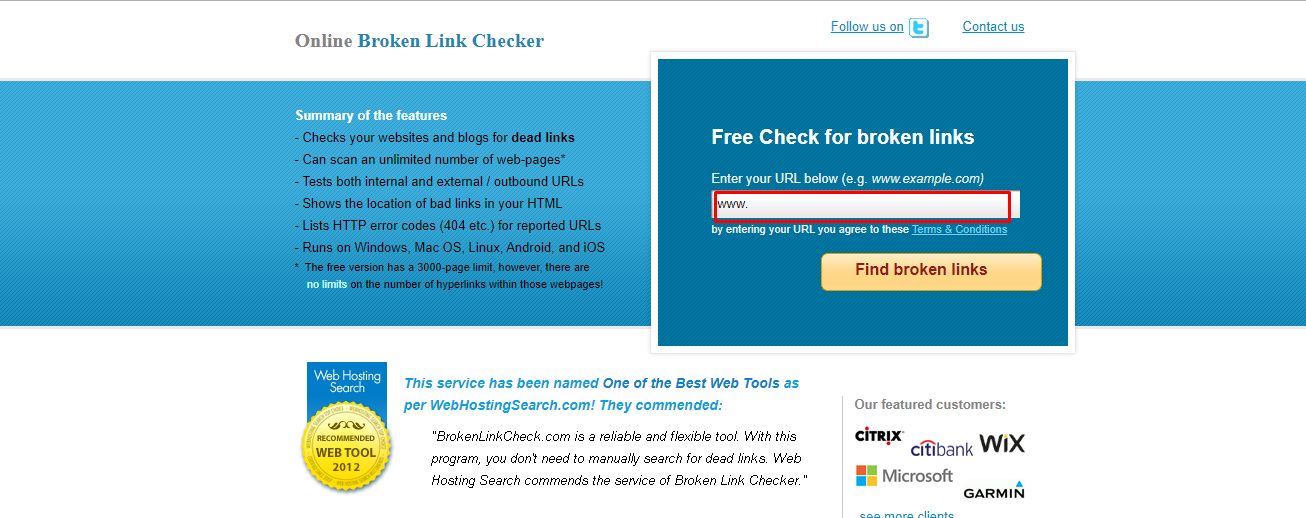
Several websites offer free tools for locating broken links. All you have to do is enter your website URL into tools like
- Broken Link Check
- Ahrefs Broken Link Checker
- Dead Link Checker
NOTE: Wait for the website to scan it for you.
Use the Broken Link Checker WordPress Plugin
If you have a WordPress website, you’re already aware that there’s a plugin for almost anything. That, of course, involves looking for broken links. Broken Link Checker is a free plugin that monitors your website’s links, compiles a list of those that don’t work, and makes it simple to modify or unlink each one.
One disadvantage of utilizing a plugin like Broken Link Checker is that it may cause your site to slow down briefly while running, so keep that in mind when determining what to use.
Finding Broken Links with SEO Spider
Screaming Frog’s SEO Spider tool will search your website and automatically identify various issues, including broken links. It’s also free to use for websites with fewer than 500 pages. To use SEO Spider to discover broken links, you must first download the software. After you’ve downloaded it, all you have to do now is enter your URL and click Start. Crawling your entire website may take a few minutes.
By selecting Client Error from the Response Codes menu, you can observe broken links. By clicking on the link and then selecting Inlinks, you can find out where the link is on your website. Choose Bulk Export, Response Codes, Client Errors to acquire a list of all your broken links in spreadsheet form (which will make fixing them easier).
Step 2: Fix Your Broken Links
Now that you’ve compiled your list of broken links, it’s time to move on to the more difficult portion. You must go into each one and make the necessary repairs. Determine which links require updating and which should be eliminated. Keep track of your progress, so you don’t miss anything, and open each web page to double-check the corrected link before going on to the next.
It takes time, but it assures that your website visitors have a better experience. It’s preferable to do this once every three months to ensure that any new broken links are fixed as soon as feasible. And the more you do it, the less effort you’ll have to make each time. If you’re lucky, you’ll notice the broken links before anyone else.
Step 3: Update Your 404 Page
Even if you check for broken links on a regular basis, there can be occasions when you miss one or when users enter a URL incorrectly. Whatever you do, some of your visitors will almost likely end up on your 404 page. So take advantage of the opportunity when it arises.